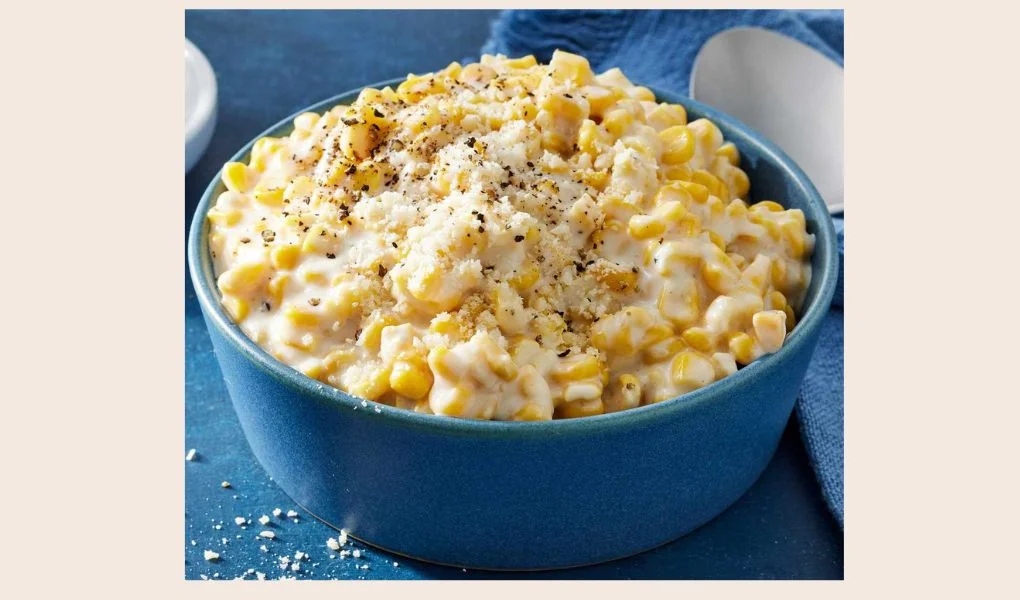
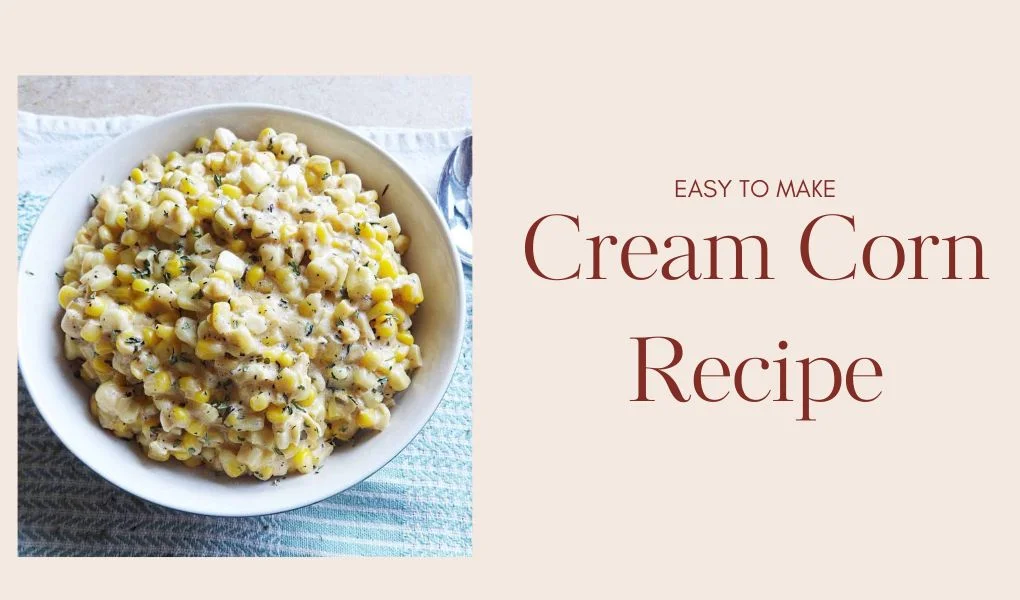
Cream corn is a classic comfort food that adds a touch of sweetness and creaminess to any meal. Whether you’re serving it as a side dish for Thanksgiving dinner or alongside a hearty pork tenderloin, this homemade creamed corn recipe is sure to please everyone at the table. In this article, we will explore everything you need to know about making the perfect cream corn, from ingredients and step-by-step instructions to nutrition facts and community tips.
What is Cream Corn?
Cream corn is a dish made primarily from corn kernels cooked in a creamy sauce. It can be made with fresh, frozen, or canned corn, making it a versatile choice for any season. While variations exist, the best creamed corn recipes focus on using fresh ingredients and well-seasoned components to enhance the natural sweetness of the corn.

The Versatility of Cream Corn
- Pairing: Cream corn pairs well with various main dishes, including:
- Roast chicken
- Grilled pork chops
- Barbecued ribs
- Thanksgiving turkey
- Occasions: Enjoy it during:
- Holiday feasts
- Family gatherings
- Casual dinners
- Potlucks
Ingredients for Cream Corn Recipe
This easy creamed corn recipe requires a handful of simple ingredients that you likely have on hand. Here’s what you’ll need:
| Ingredient | Amount |
| Corn kernels | 4 cups (fresh, frozen, or canned) |
| Onion | 1 small, diced |
| Butter | 3 tablespoons |
| All-purpose flour | 2 tablespoons |
| Salt | To taste |
| Black pepper | To taste |
| Milk | 1 ¼ cups |
| Heavy whipping cream | ¾ cup |
| Granulated sugar | 2 teaspoons |
| Fresh thyme (optional) | 2 sprigs or ⅛ teaspoon dried |
Ingredient Notes
- Corn: Fresh corn is ideal when in season, but frozen or canned corn works perfectly in a pinch.
- Onion: Adds depth of flavor; you can substitute with shallots for a milder taste.
- Butter: Provides richness; feel free to use bacon grease for an added smoky flavor.
- Thyme: This herb enhances the flavor but can be substituted with your preferred herbs like parsley or chives.
Step-by-Step Instructions for Making Cream Corn
Making homemade creamed corn is simple and can be done in about 30 minutes. Follow these step-by-step instructions for delicious results.
Prepare the Onion
- Chop the Onion: Dice the small onion finely to ensure it cooks evenly.
- Cook in Butter: In a medium saucepan over medium heat, melt 3 tablespoons of butter.
- Sauté Until Translucent: Add the diced onion to the pan and cook until it becomes translucent, about 4 minutes.
Make the Roux
- Add Flour: Sprinkle 2 tablespoons of all-purpose flour over the onions.
- Season: Add salt and black pepper to taste.
- Cook the Roux: Stir continuously for 2-3 minutes to cook the flour, allowing it to become slightly golden.
Incorporate the Corn
- Add Corn: Stir in the 4 cups of corn kernels, mixing well to coat them in the roux.
Add Creamy Ingredients
- Mix in Dairy: Pour in 1 ¼ cups of milk and ¾ cup of heavy whipping cream.
- Sweeten: Add 2 teaspoons of granulated sugar to enhance the corn’s natural sweetness.
- Add Thyme: If using, add the fresh thyme or dried thyme.
Simmer and Thicken
- Bring to a Boil: Stir the mixture and bring it to a boil.
- Thicken the Mixture: Allow it to boil for 1 minute while stirring until thickened.
Blend for Creaminess
- Blend a Portion: Remove 1 cup of the corn mixture and blend it with a hand mixer until smooth.
- Return to Pan: Stir the blended corn back into the pan to create a creamy texture.
Season and Serve
- Taste and Adjust: Taste the creamed corn and season generously with more salt and pepper if needed.
- Serve Warm: Serve hot as a comforting side dish to complement your main entrée.
Nutrition Facts
Here’s a breakdown of the nutrition information for one serving of homemade creamed corn:
| Nutrient | Amount per Serving |
| Calories | 211 |
| Carbohydrates | 20g |
| Protein | 4g |
| Fat | 13g |
| Saturated Fat | 8g |
| Cholesterol | 43mg |
| Sodium | 215mg |
| Potassium | 205mg |
| Fiber | 1g |
| Sugar | 6g |
| Vitamin A | 580 IU |
| Vitamin C | 2.9mg |
| Calcium | 68mg |
| Iron | 0.6mg |
Community Tips and Praise
Tips from the Community
- For a Spicy Kick: Add diced jalapeños or a pinch of cayenne pepper for heat.
- Cheesy Variation: Stir in a handful of shredded cheddar cheese for a cheesy creamed corn.
- Herb Variations: Experiment with herbs like dill or basil for a fresh flavor twist.
Praise from Users
- Family Favorite: “This is the best creamed corn I’ve ever made! My kids loved it!”
- Easy and Delicious: “I was surprised at how easy this was to make, and it turned out perfectly creamy.”
- Perfect for Holidays: “I served this at Thanksgiving, and everyone asked for the recipe!”
FAQ about Cream Corn
Can I use frozen or canned corn instead of fresh?
Yes, frozen and canned corn are great substitutes for fresh corn. Just ensure that canned corn is drained before use.
How do I store leftover creamed corn?
Store any leftovers in an airtight container in the refrigerator for up to 3 days. Reheat gently on the stove over low heat.
Can I freeze creamed corn?
Yes, creamed corn can be frozen. Allow it to cool completely, then transfer it to a freezer-safe container. It can be frozen for up to 3 months. Thaw in the refrigerator before reheating.
Can I make this recipe vegan?
To make a vegan version, substitute butter with plant-based butter, use non-dairy milk (like almond or oat milk), and skip the heavy cream or use coconut cream.
Conclusion
This cream corn recipe is a delightful and easy way to enjoy the sweet, tender flavors of corn in a creamy sauce. With just a few simple ingredients and straightforward instructions, you can create a comforting side dish that complements any meal. Whether you’re preparing a holiday feast or a casual dinner, homemade creamed corn is sure to be a hit with your family and friends.
Feel free to experiment with different ingredients and variations to make this recipe your own. Enjoy the rich, creamy goodness of creamed corn, and make it a staple in your recipe repertoire!


