Egg Wash Recipe for Chicken: When it comes to achieving that perfect golden-brown crust on your chicken, an egg wash is a secret weapon. This simple yet essential kitchen technique elevates your chicken dishes, making them crispier, tastier, and more visually appealing. In this comprehensive guide, you’ll learn everything about making and using egg wash for chicken, along with tips, FAQs, and even nutritional insights. Let’s dive in!
What Is an Egg Wash?
An egg wash is a mixture of beaten eggs combined with a liquid such as milk, cream, or water. It acts as a glue for breadcrumbs or seasonings and ensures a crispy, golden crust during cooking.

Ingredients for Egg Wash Recipe for Chicken
| Ingredient | Purpose |
| 1 Egg | The main binding agent. |
| 1 Tbsp Milk | Enhances the golden-brown color. |
| 1/2 Cup Flour | For dredging before the egg wash. |
| Breadcrumbs | Adds texture and crispiness to the coating. |
Step-by-Step Instructions For Egg Wash Recipe for Chicken
1. Prepare Your Ingredients
- Crack one egg into a bowl and whisk it until smooth.
- Add 1 tablespoon of milk, cream, or water to the egg. Whisk until fully combined.
- Season breadcrumbs with salt, pepper, or other spices if desired.
- Prepare a separate bowl with seasoned all-purpose flour.
2. Butterfly and Tenderize the Chicken
- Butterfly the chicken breast by slicing it horizontally to create two thinner pieces.
- Pound the pieces gently with a meat tenderizer to ensure even thickness. This helps with uniform cooking.
3. Dredge the Chicken
- Coat the chicken in the seasoned flour. Ensure every surface is covered, as this will help the egg wash stick better.
4. Apply the Egg Wash
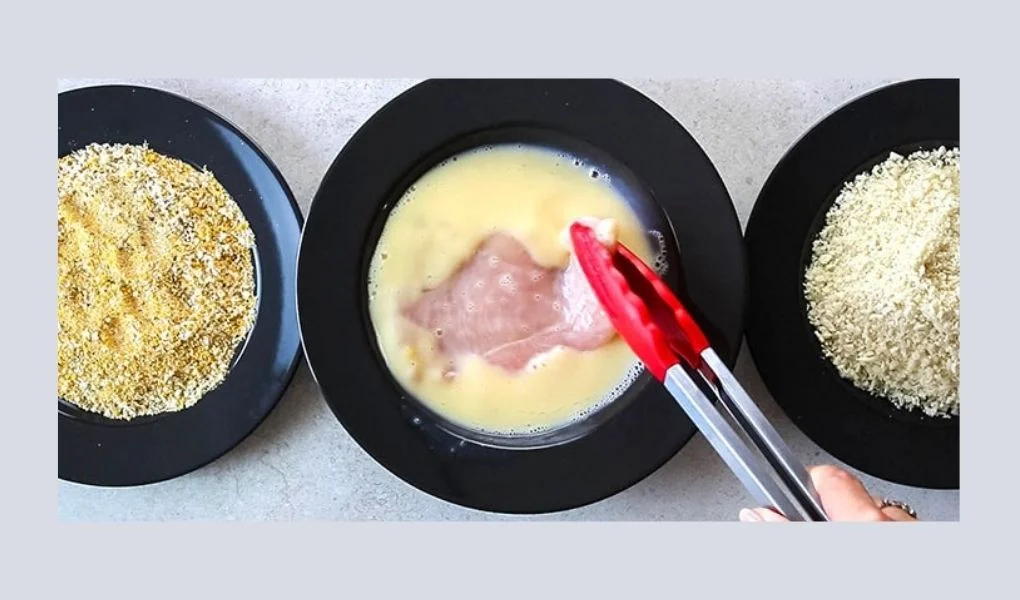
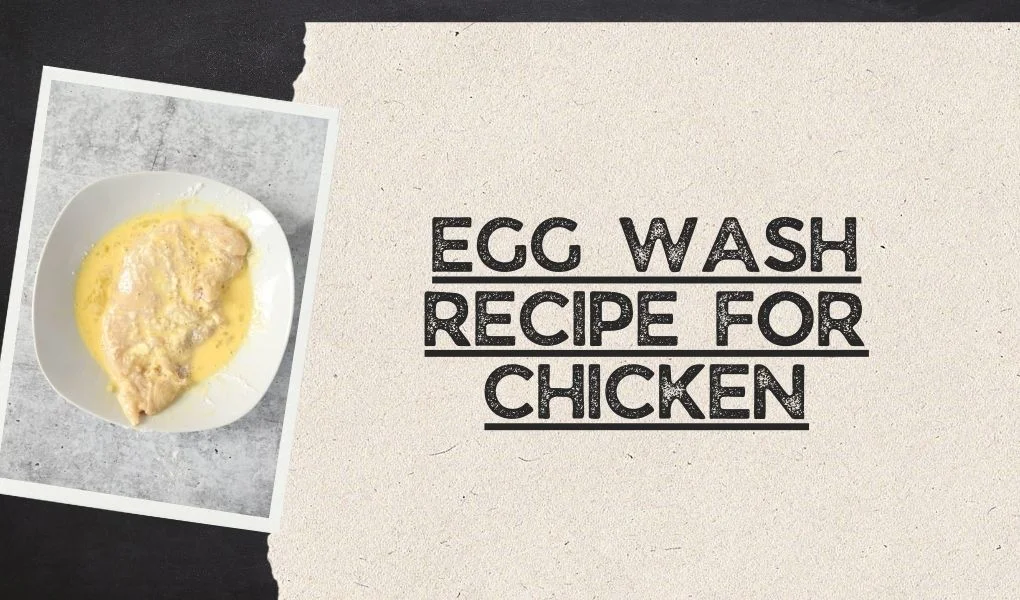
- Dip the floured chicken into the egg wash, making sure it’s evenly coated. Use tongs to minimize mess.
5. Bread the Chicken
- Press the egg-coated chicken into the breadcrumbs. Ensure all sides are covered.
6. Cook to Perfection
- Heat 1 tablespoon of butter and 3 tablespoons of olive oil in a pan over medium heat.
- Cook the chicken for about 5 minutes per side or until the internal temperature reaches 165°F (74°C).
Directions for Using Egg Wash in Chicken Recipes
- Gather your tools: Prepare bowls for flour, egg wash, and breadcrumbs.
- Seasoning: Add salt, pepper, garlic powder, or herbs to your flour and breadcrumbs for added flavor.
- Layering: Follow the dredge → egg wash → breadcrumb sequence for optimal coating.
- Cooking: Fry, bake, or air-fry the coated chicken for a perfectly golden crust.
Nutrition Facts (Per Serving)
| Nutrient | Amount (Approx.) |
| Calories | 350 kcal |
| Protein | 25g |
| Fat | 18g |
| Carbohydrates | 22g |
| Fiber | 1g |
Community Tips and Praise: Egg Wash Recipe for Chicken
- “My chicken has never looked so professional!”: Many home cooks rave about the deep, even browning that egg wash provides.
- Pro Tip: For extra crunch, double-coat the chicken by repeating the flour and breadcrumb steps.
FAQs About Egg Wash Recipe for Chicken
Can I use only egg without milk?
Yes, you can. However, milk or cream enhances browning and creates a richer crust.
Can I make an egg wash without eggs?
Yes! Substitute eggs with a mix of 2 tablespoons of milk and 1 tablespoon of cornstarch for a vegan alternative.
Can I prepare egg wash ahead of time?
Egg wash should be used immediately for the best results.
Comparison of Cooking Methods
| Cooking Method | Pros | Cons |
| Frying | Crispy texture, quick cooking. | Higher in calories. |
| Baking | Healthier, even cooking. | Less crispy than frying. |
| Air-Frying | Low-fat, quick, crispy. | May require smaller batches. |
Expert Tips for Perfect Egg Wash Chicken
- Uniform Thickness: Always pound chicken to the same thickness for even cooking.
- Double Coating: For extra crunch, repeat the dredge and breading steps.
- Temperature Control: Use a thermometer to ensure an internal temperature of 165°F.
Reviews from Home Cooks
- “This egg wash recipe made my chicken Parmesan a hit with the family!”
- “Simple ingredients, big flavor. Highly recommend!”
Conclusion About Egg Wash Recipe for Chicken
An egg wash is a game-changer when it comes to preparing crispy, golden-brown chicken. Whether frying, baking, or air-frying, this versatile technique enhances flavor and texture while ensuring your chicken looks as delicious as it tastes. By following the step-by-step guide, tips, and FAQs, you’ll master this technique and create restaurant-quality dishes at home.
So, grab your ingredients, and start breading! Your next chicken dinner is about to get a golden makeover.


